SoX: How to Change Audio Sample Rate
Updated
Check and change the sample rate of an audio file using SoX
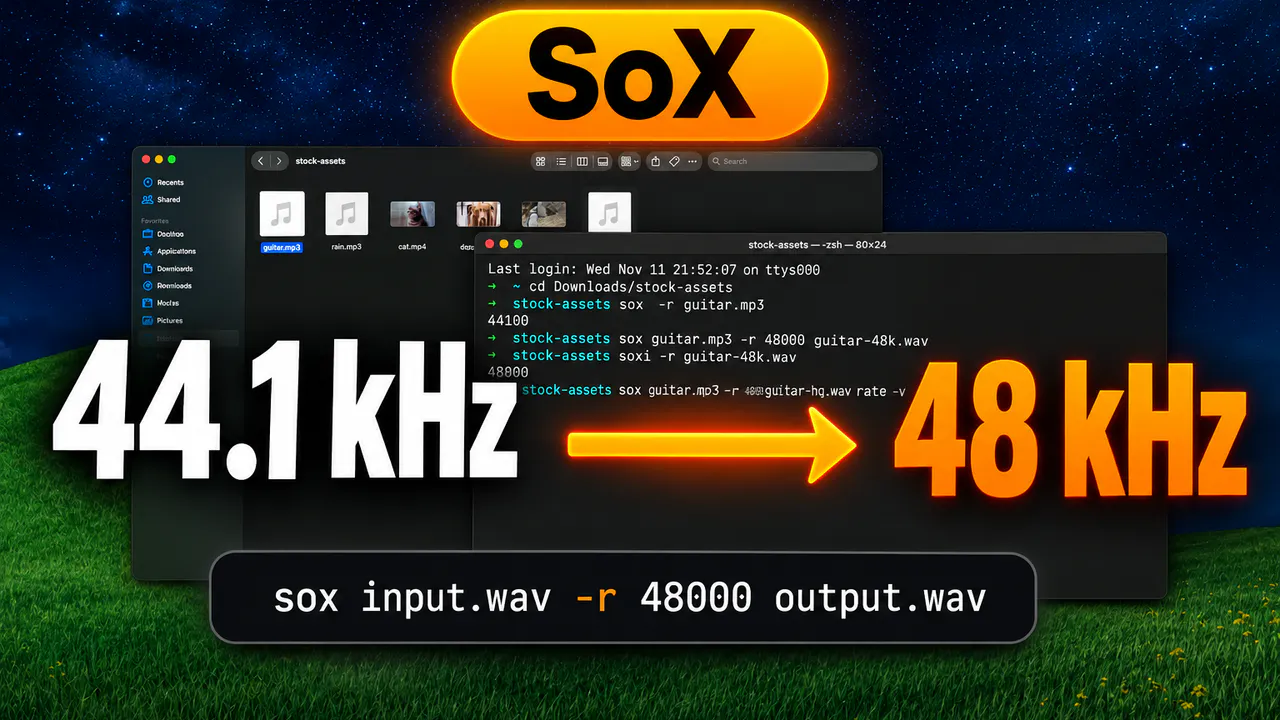
Before we start, make sure you have SoX installed on your computer and open your terminal in the folder where your audio file is saved.
First, let's check the current sample rate of your file. Type soxi -r input.wav and press Enter, making sure to replace input.wav with your actual file name. The terminal will print a number like 44100, which is your current sample rate in Hertz.
Next, to change the sample rate, run:
sox input.wav -r 48000 output.wav
Here, the -r 48000 option sets your new rate to 48,000 Hertz, and output.wav is the name of the new file you are creating.
If you want the cleanest possible audio quality during conversion, you can add an optional high-quality flag at the end by running:
sox input.wav -r 48000 output.wav rate -v
For short clips, this finishes almost instantly, though larger files using the high-quality flag may take a few seconds to process before your terminal prompt returns.
To confirm everything worked, test your new file by running soxi -r output.wav. You should see 48000 appear right on your screen.
Always save your converted audio under a new file name so you never accidentally overwrite your original recording.