
Pandoc: How to Add Images to a PDF
Updated
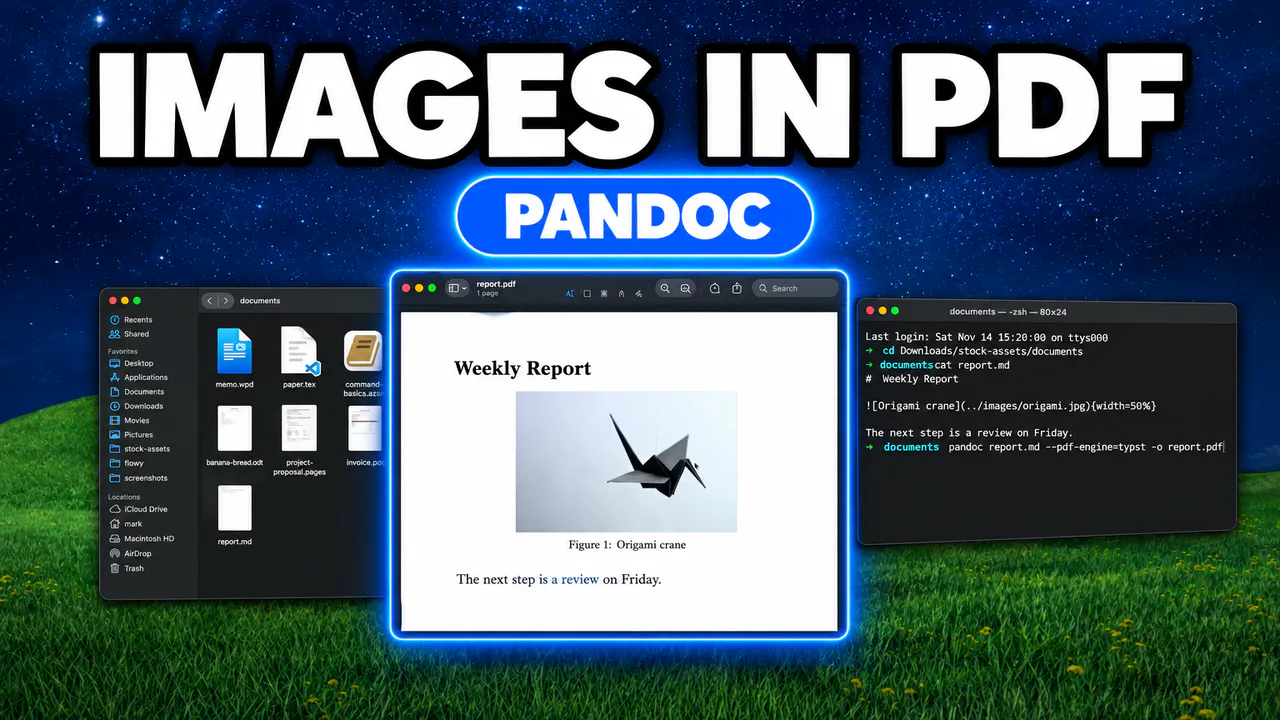
Learn how to add images to a PDF from Markdown using Pandoc & Typst
Install Pandoc and Typst
Before we start, make sure you have Homebrew installed on your computer, a Markdown file and an image ready in a folder. Install Pandoc along with Typst, which acts as our PDF engine, with this command:
brew install typst pandoc
Add the Image
First, open your Markdown file and add the image on its own line:
{width=50%}The text in square brackets is the caption, and the path in round brackets points to your picture. Just remember to replace image.jpg with your actual image. The curly brackets set the size, so {width=50%} makes the image half the page wide. You can also use a fixed size, like {width=3in}.
Create the PDF
Next, navigate to the folder containing your Markdown file and run this command:
pandoc input.md --pdf-engine=typst -o output.pdf
Just swap input.md with your actual filename, and output.pdf with the name you want for the PDF. The --pdf-engine=typst flag tells Pandoc to use Typst, so you don't need a full LaTeX install. This finishes in about a second, and Pandoc doesn't print anything when it works.
To make sure everything worked, run open output.pdf. You should see your image with its caption right underneath. Keep in mind that the image path is relative to the folder you run Pandoc from.
If you don't want a caption, just leave the square brackets empty, like , and the image sits inline with your text.